Step 1: Check Shopify Data
In your Shopify account, ensure that your products list and order history are up to date.
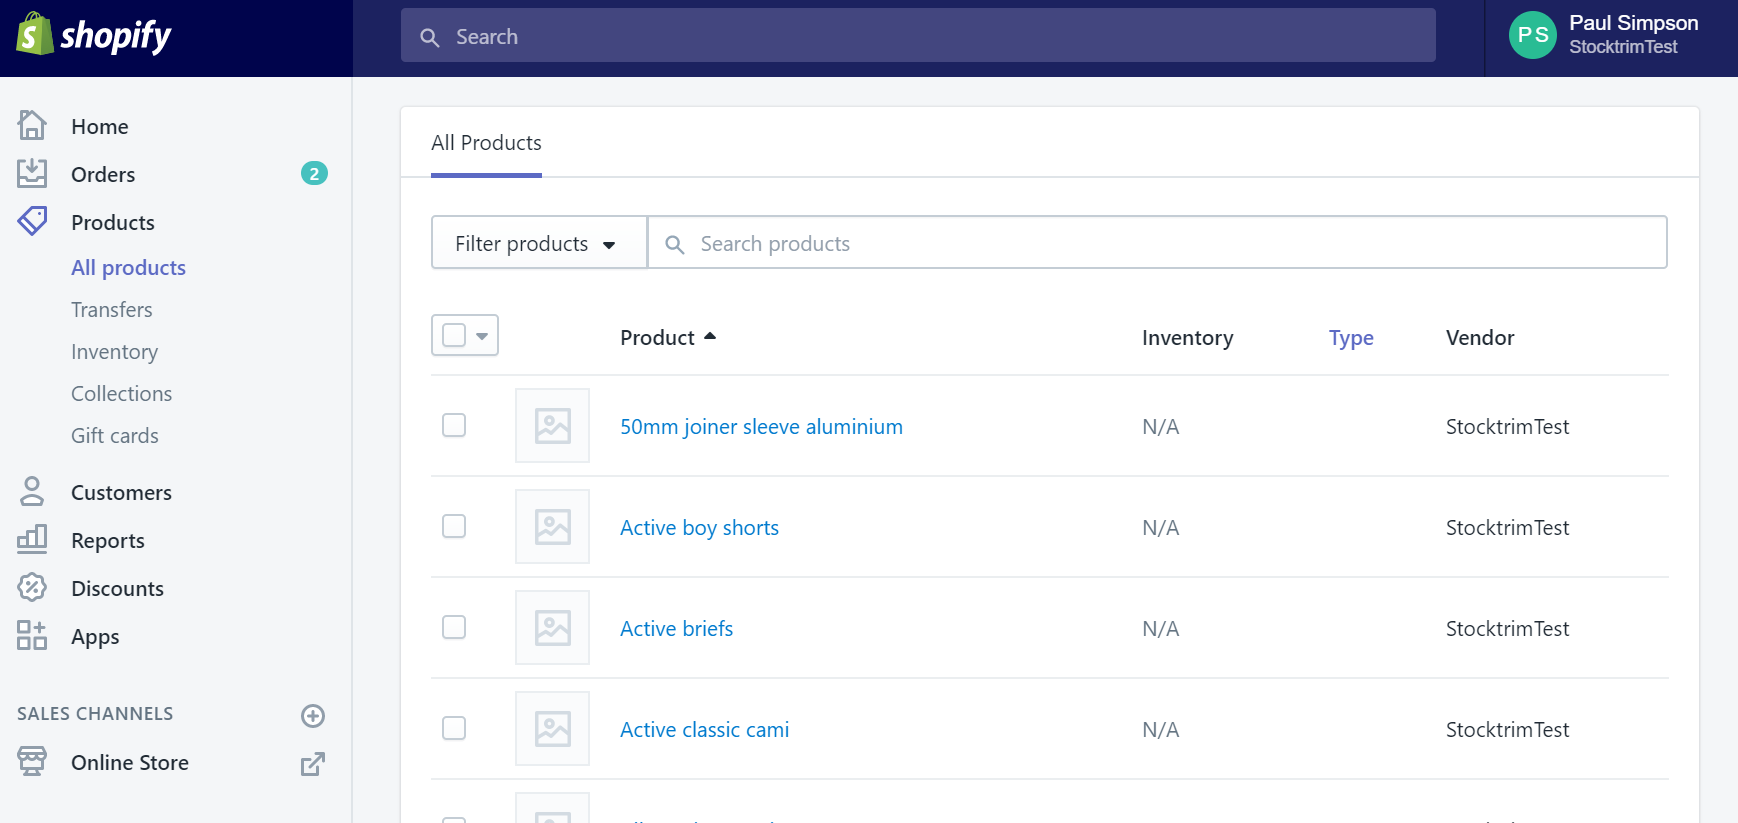
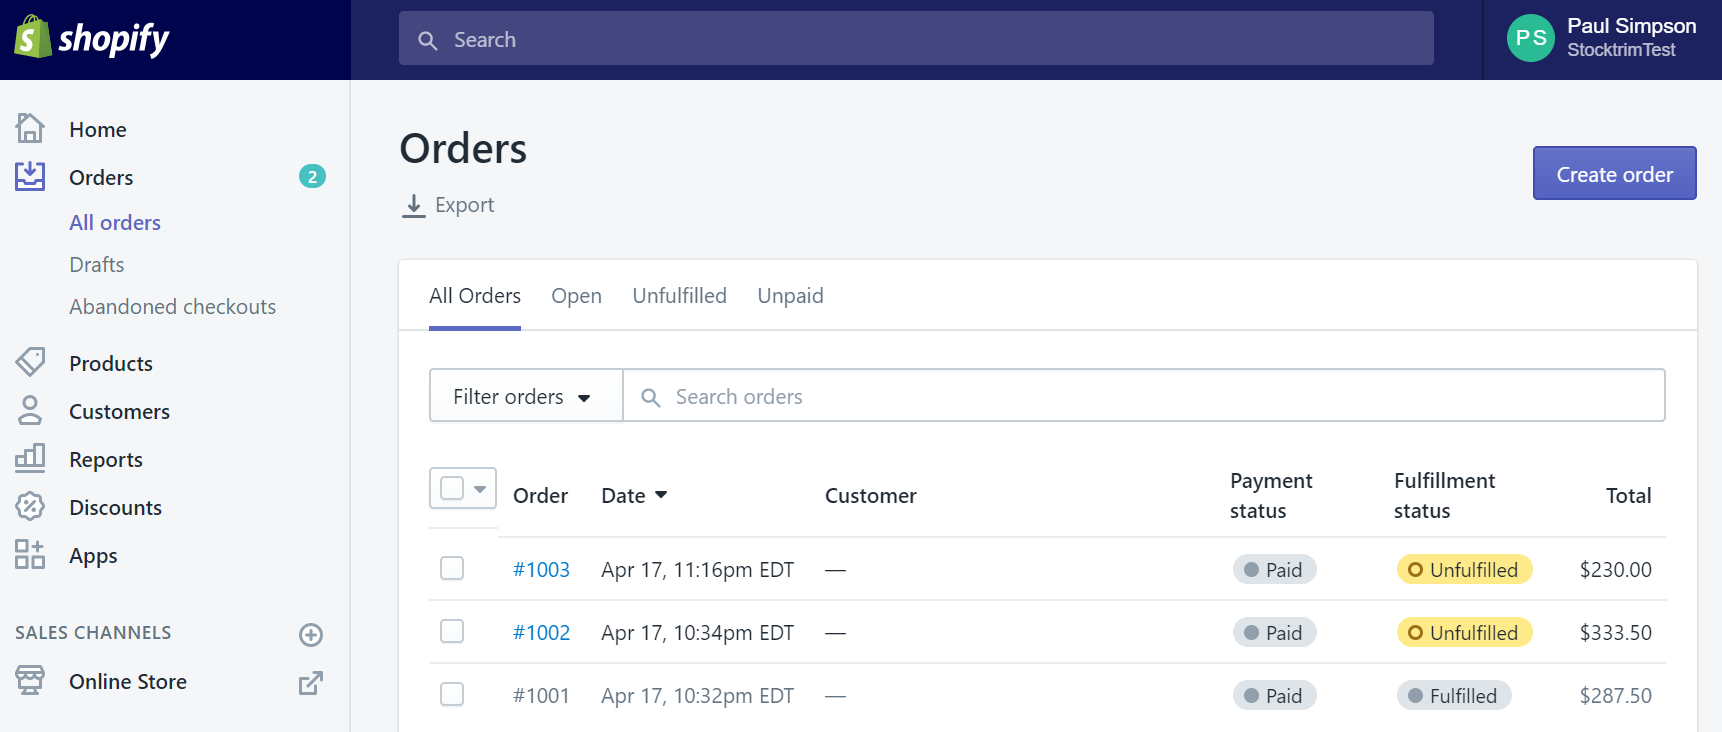
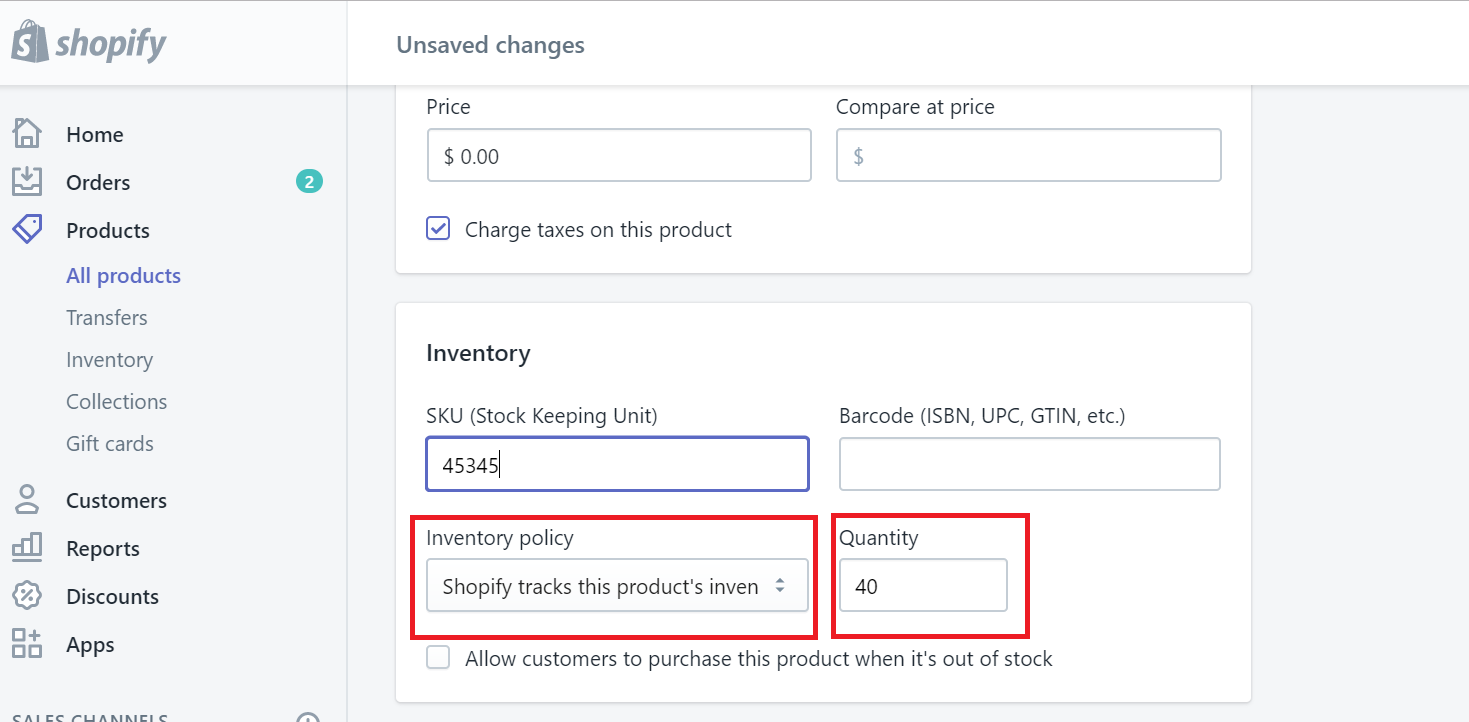
It also helps if your inventory is tracked in Shopify, with current stock levels set.
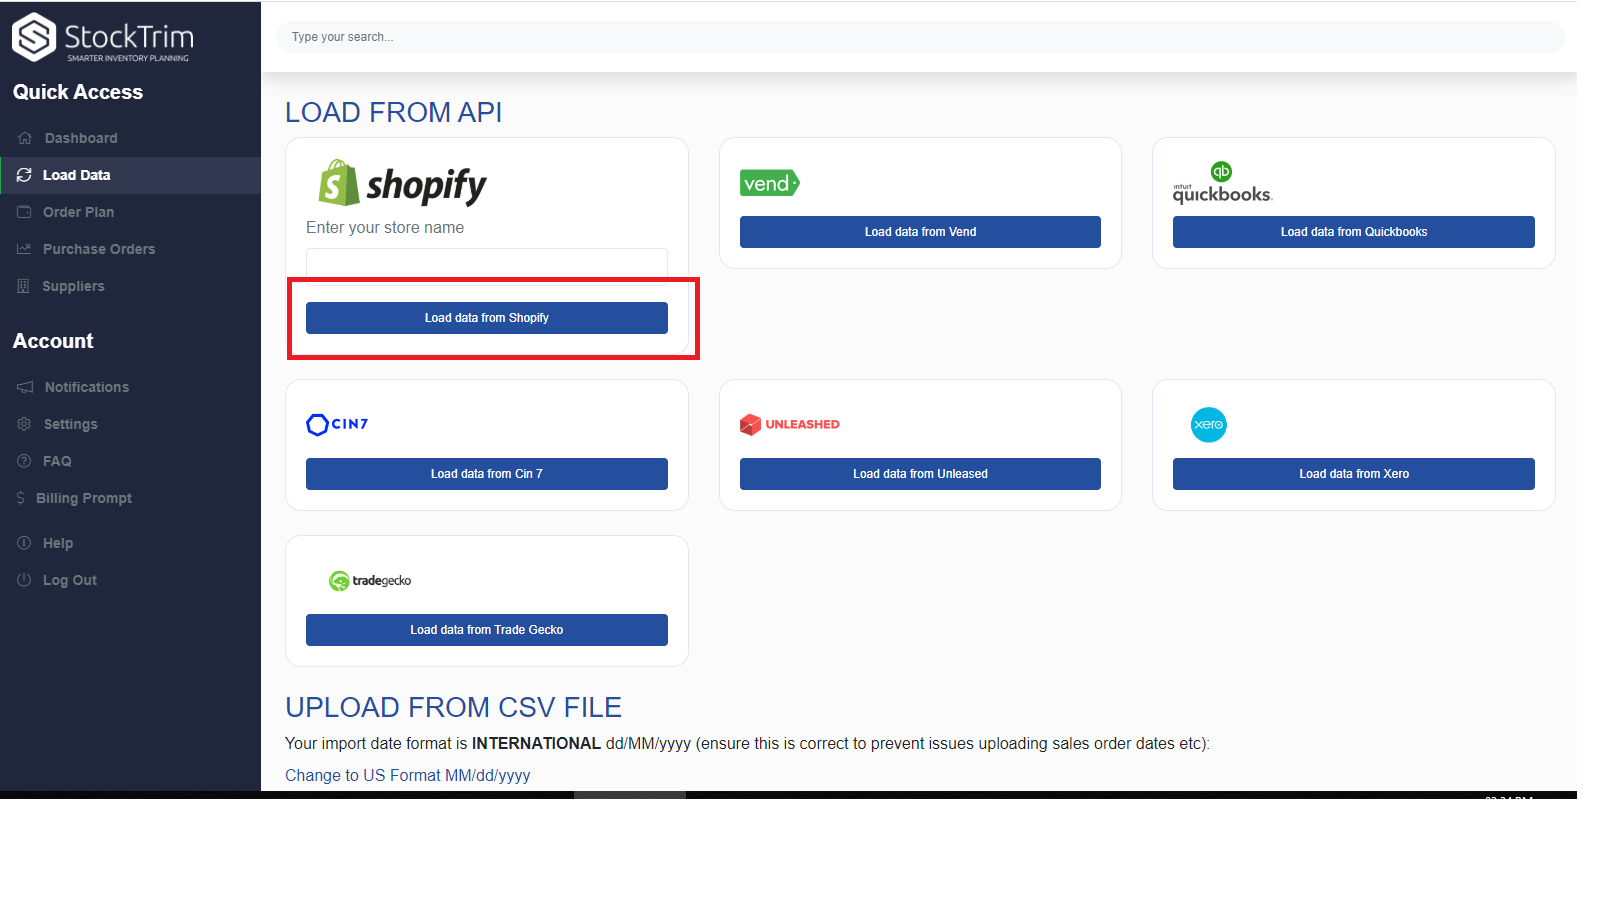
Step 2: Load data into StockTrim
In StockTrim, go to the Load Data screen and click "Load From Shopify". Click "install" if Shopify asks for your permission.

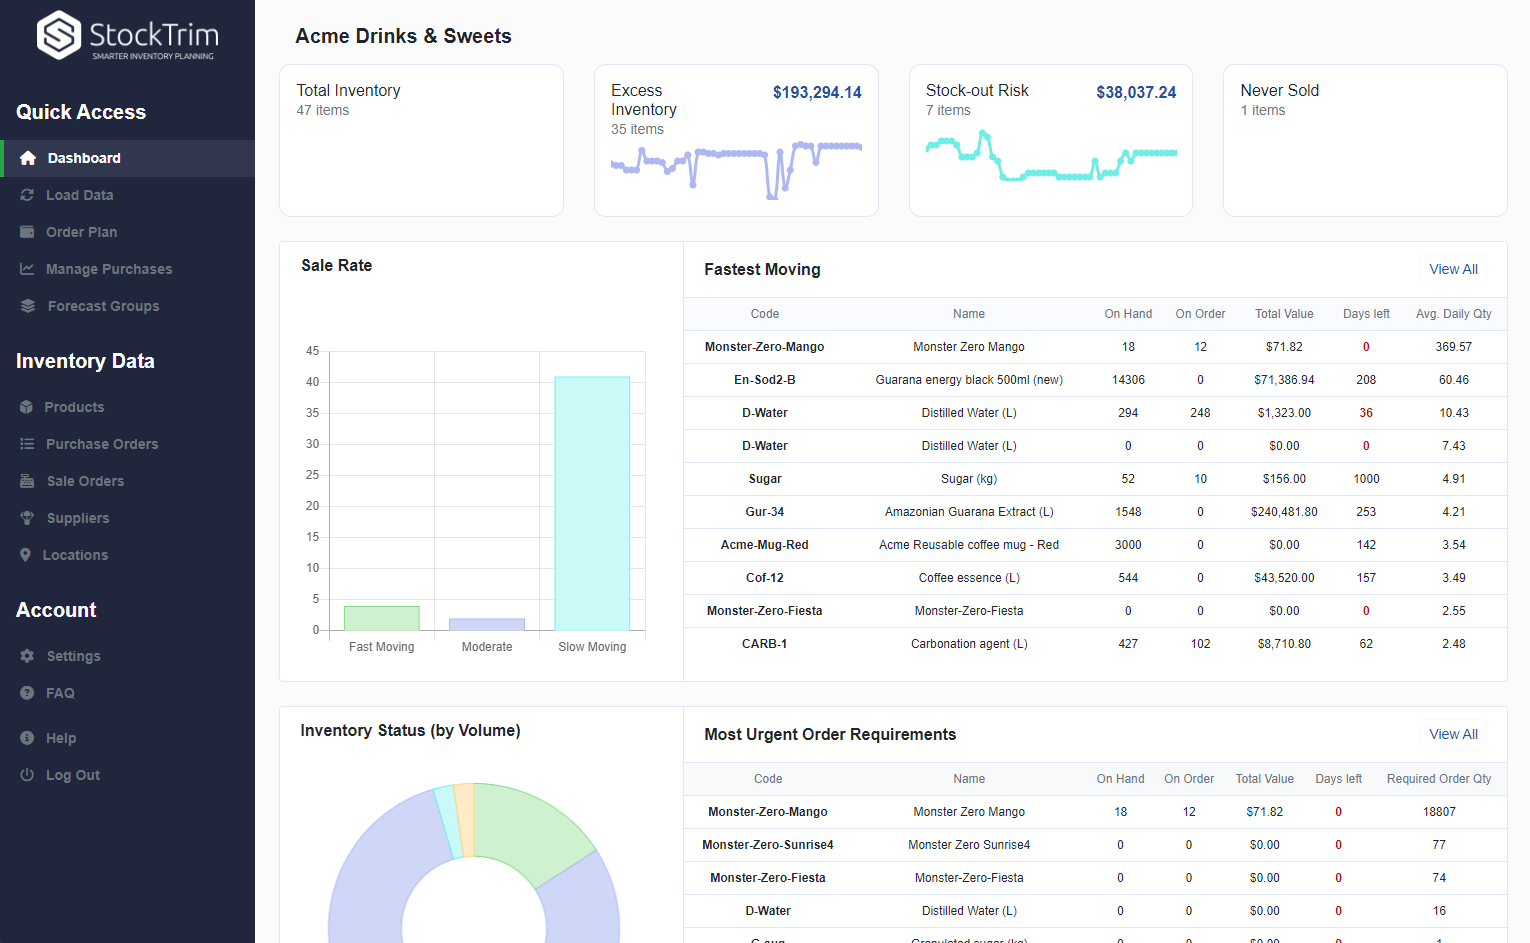
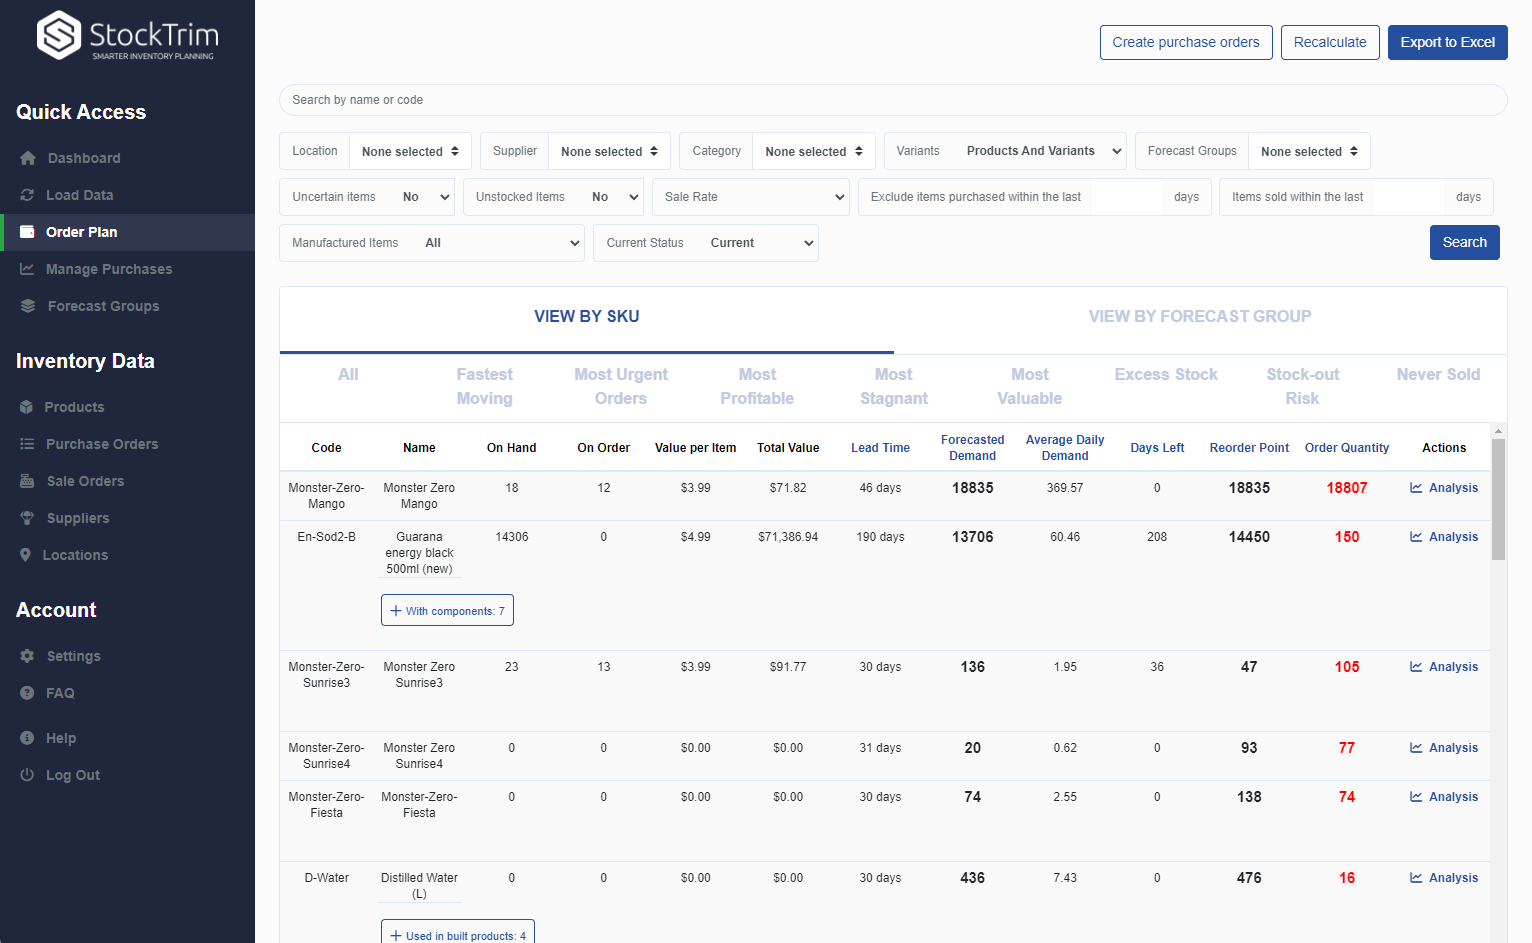
Step 3: Inventory status and order plans
On the dashboard you will see how many products you are overstocked or understocked with, as well as the related costs. Click, 'See my plan' to see the optimal reorder points and suggested order quantities to save you these costs.
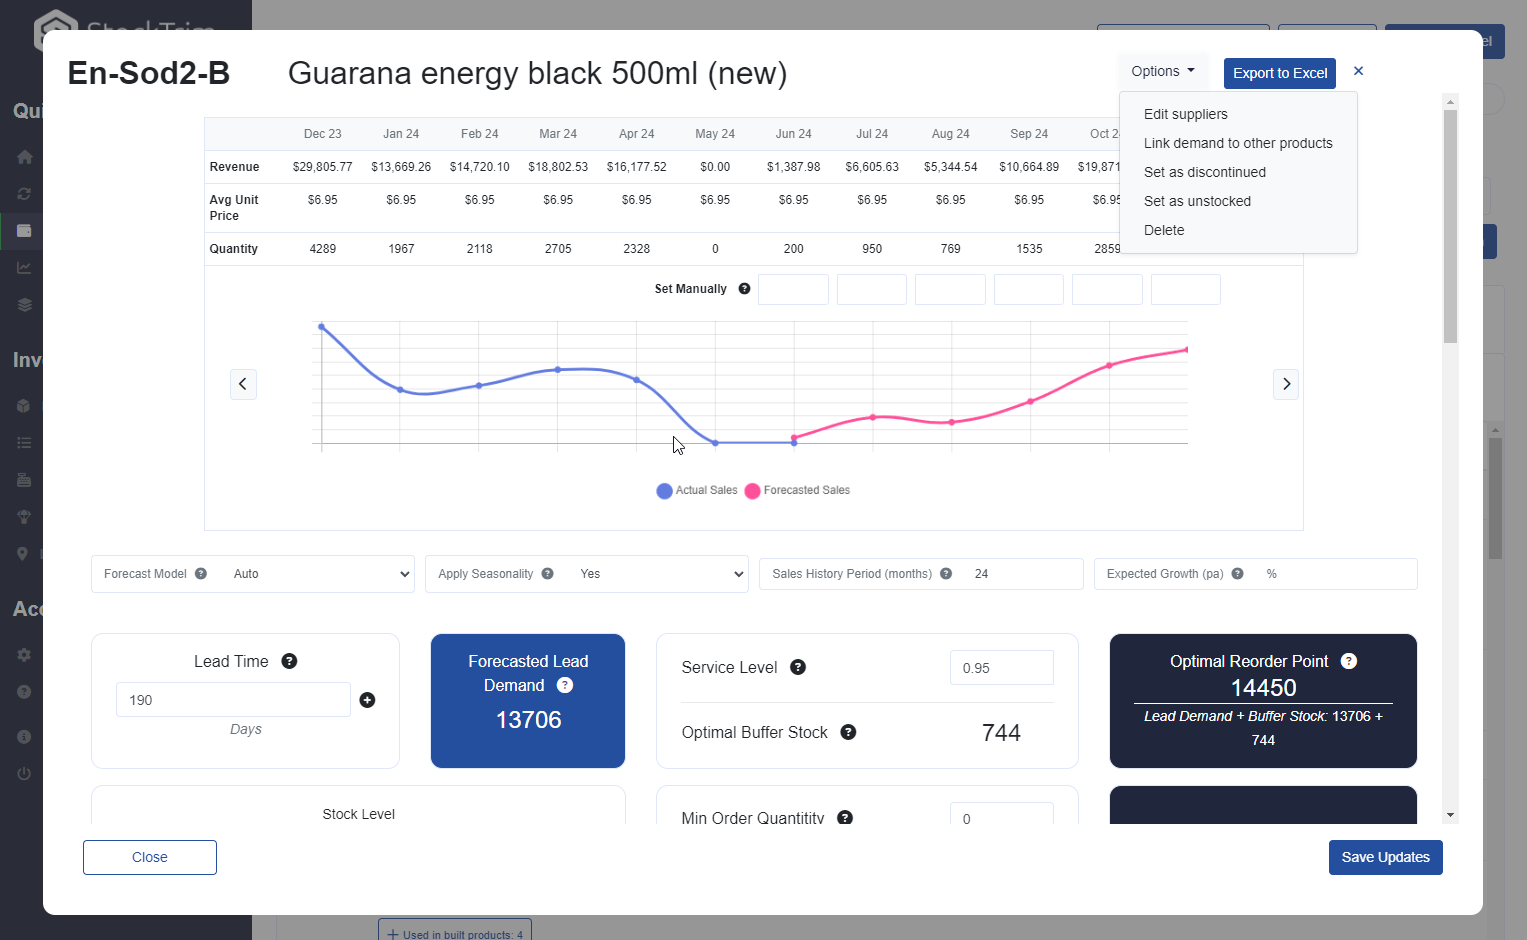
Step 4: Demand Analysis
On each product, you can select the 'i' icon to bring up the demand analysis. See your trends, and see how the forecasts are calculated so you can oversee the results to have confidence they're correct.
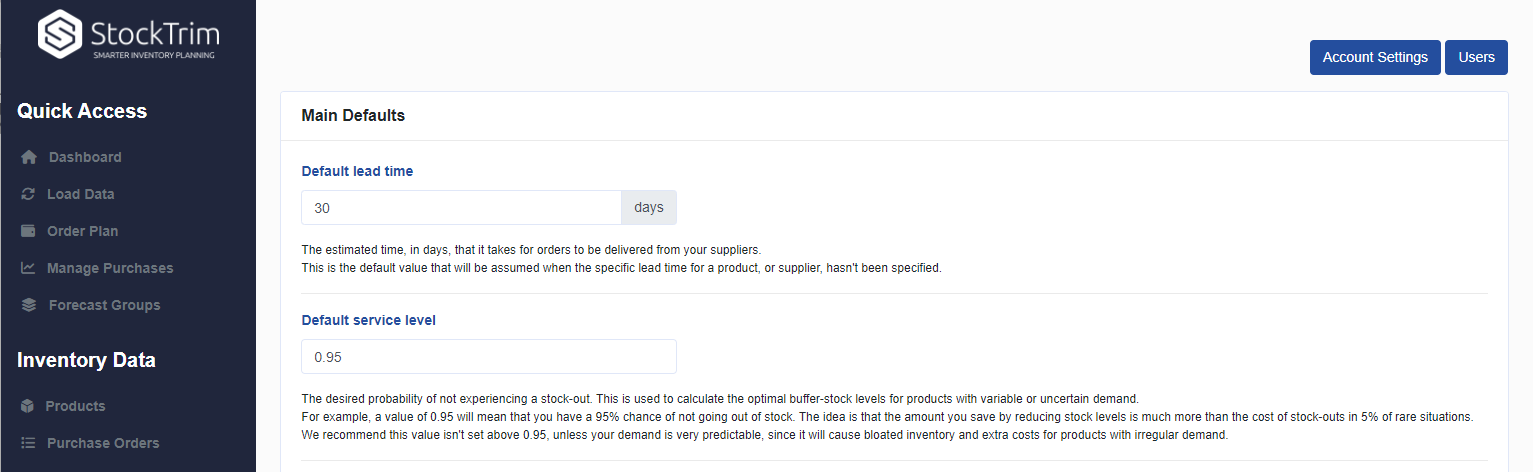
Step 5: Global Settings
Click the settings wheel to set the lead time and service level. Make sure that the lead time is set so that you have enough stock to cover the time between when you place the orders with your suppliers and when they arrive.

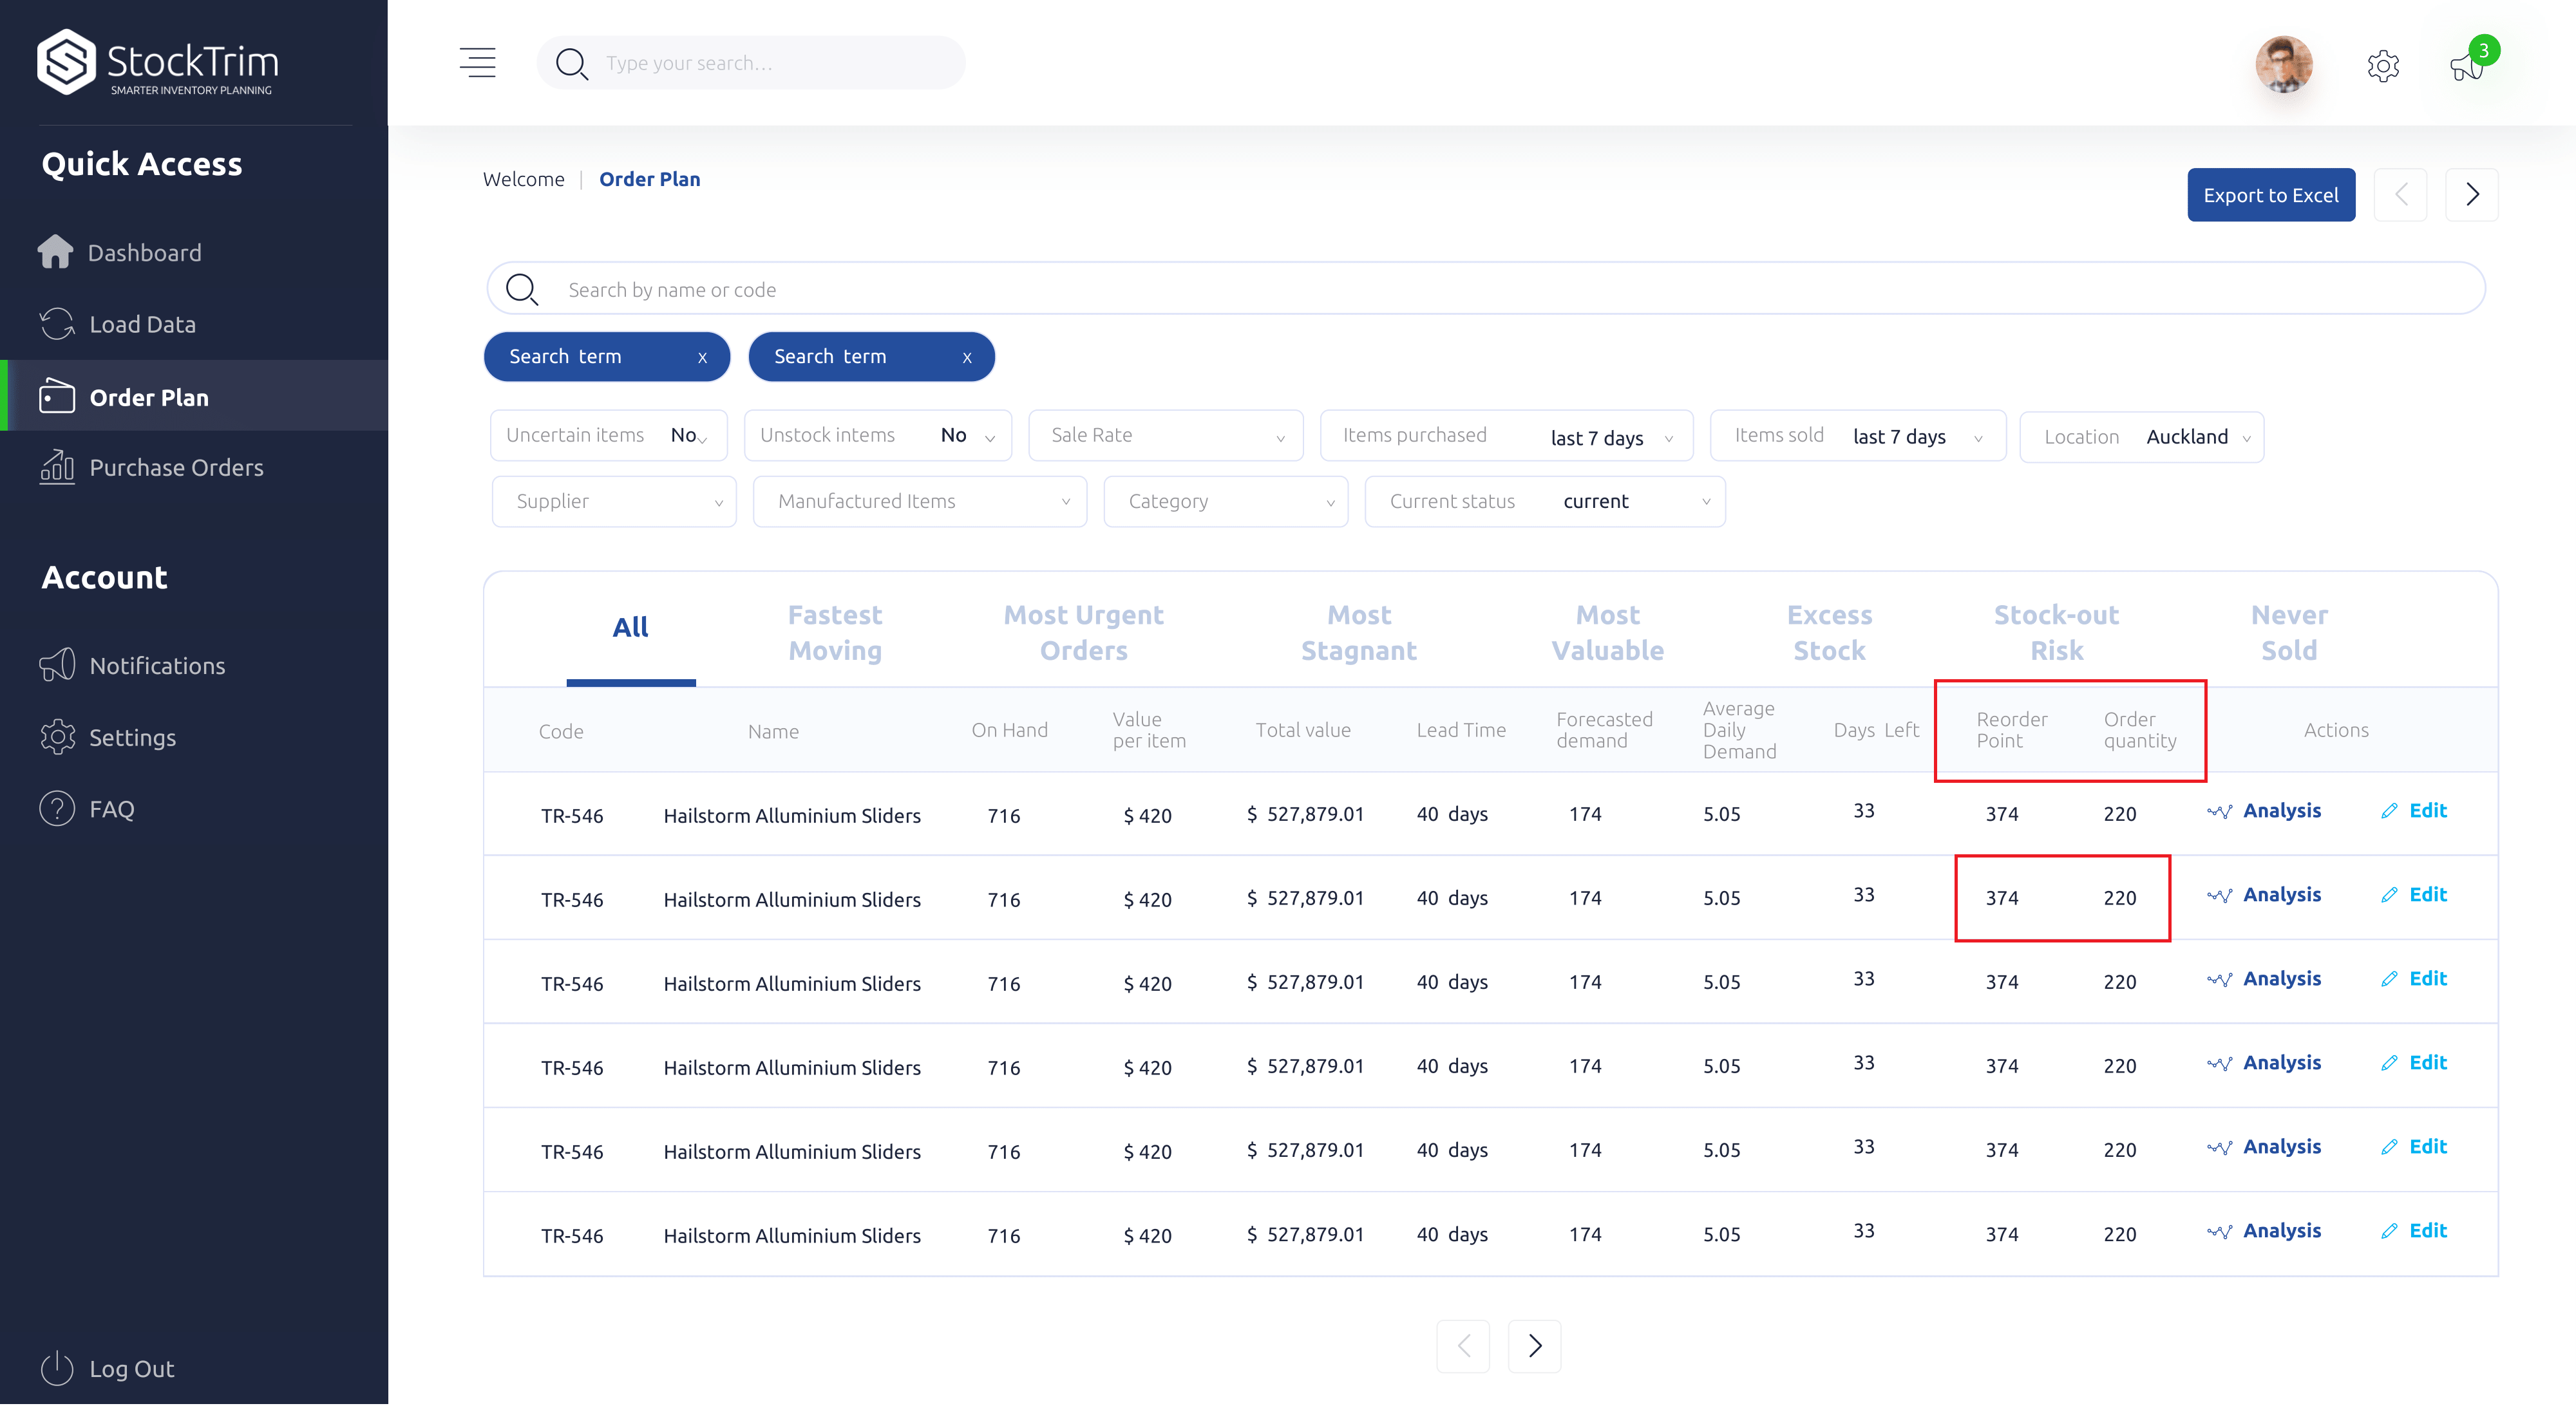
Step 6: Set order quantities and order points
To make your savings, set your optimal reorder points and order quantities.
If you use another inventory management system, set the reorder points so that you get notified when the stock level reaches the threshold.
Place orders for each of the understocked products ASAP to avoid going out of stock.
If you use another inventory management system, set the reorder points so that you get notified when the stock level reaches the threshold.
Place orders for each of the understocked products ASAP to avoid going out of stock.
General FAQ's and Knowledge base
To see frequently asked questions and lots of useful help material please check out our
knowledge base
Api Instructions and Documentation
Send Support Request